Waterford Early Learning: Creating Custom Playlists
You can create custom playlists to arrange Waterford.org activities in an order you prefer. To create a custom playlist:
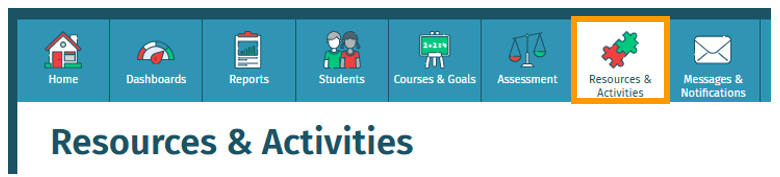
- Click on the Resources & Activities tab.
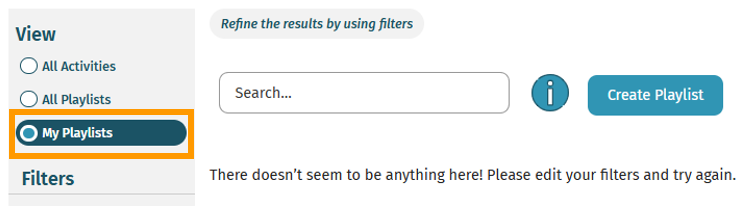
- Select My Playlists from the View menu.
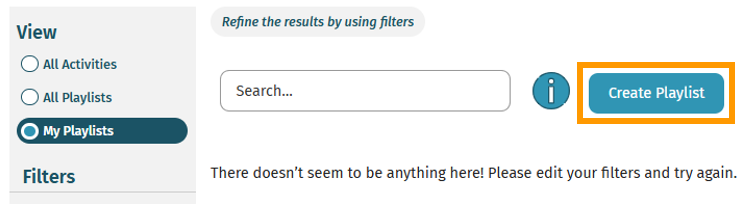
- Click the blue Create Playlist button. You will be redirected to a new window.
- Add a name and description for the custom playlist.
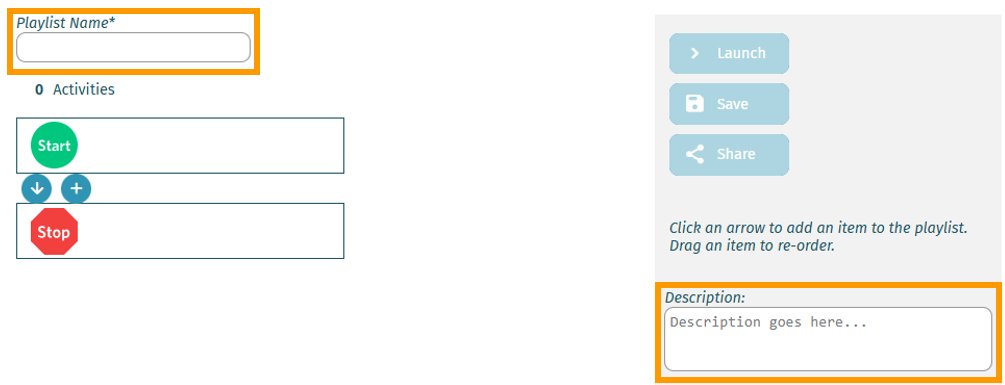
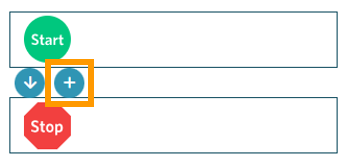
- Select the + button between the Start and Stop bars to add an activity. A pop-up window will appear.
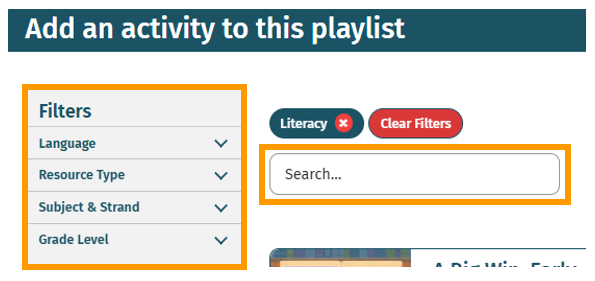
- Search for the activity that you would like to add to your playlist using the filters and search bar.
The text you enter to search will not stay in the search field once you click Enter. After you click Enter, the search is retained above the search box (e.g., Literacy).
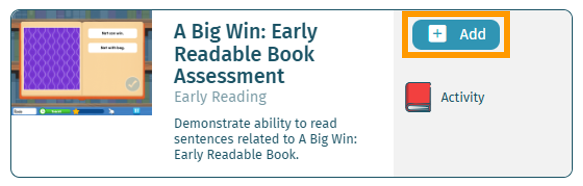
- Select the blue Add button when you have found the activity you would like to include in your custom playlist. You can add multiple activities at a time.
- When you have finished adding activities, click the red X in the top right corner to exit the pop-up.
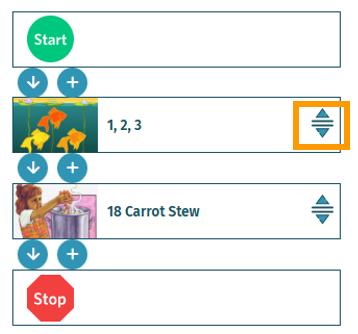
Activities range in time from two to five minutes. Waterford.org suggests a playlist should not exceed ten minutes and contain five or fewer Digital Activities. You can drag and drop any added activities to change their position in the playlist sequence.
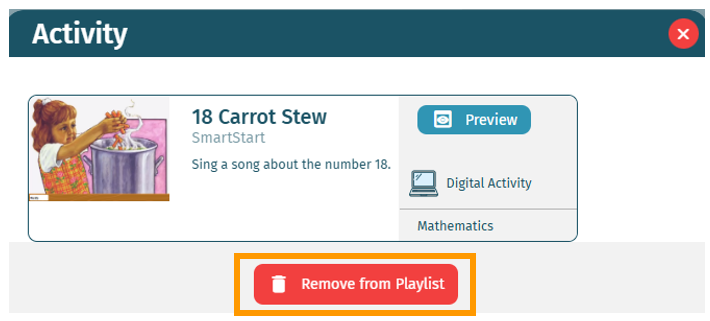
You can also remove activities from the playlist by selecting the blue icon on the right side of the activity as you build your playlist. Then, you can choose Remove from Playlist.
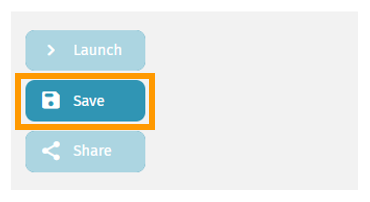
- Click Save once you have finished creating your playlist.
Once you save your playlist, it will automatically appear in your My Playlists list.
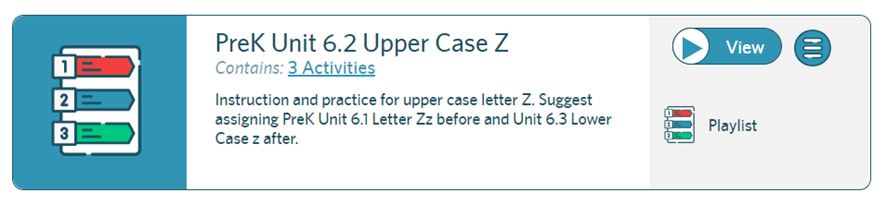
You can now assign the playlist to your students or share it with other educators in your district.
You can edit a custom playlist as needed later by clicking on the Edit option from the menu bar to the right of the playlist.
Here’s a step-by-step walkthrough in video format.
Last Updated: 6/18/25