Waterford Early Learning: Managing WACS Benchmarks
Benchmarks are the testing window during which your students can take WACS assessments. A student must be assigned a benchmark and take WACS during the testing period specified before they can start their regular sessions.
You can add or adjust these benchmarks through the Assessment tab.
Follow the link here for instructions on resetting WACS benchmarks to allow assessment retakes.
Assigning Students a WACS Benchmark
To assign a WACS benchmark to your class or an individual student:
- Click on the Assessment tab.

- Select Classes or Students in the View menu.
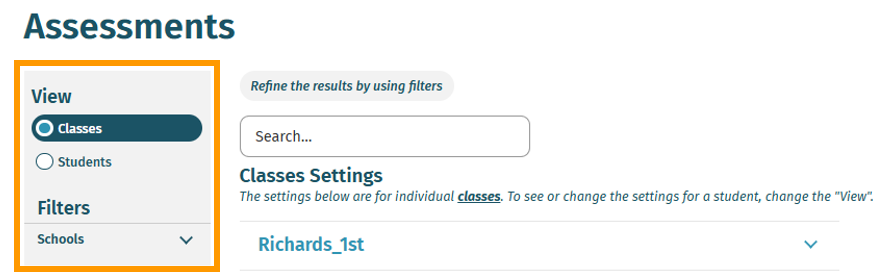
- Click on the name of the class or student you would like to assign the benchmark to.
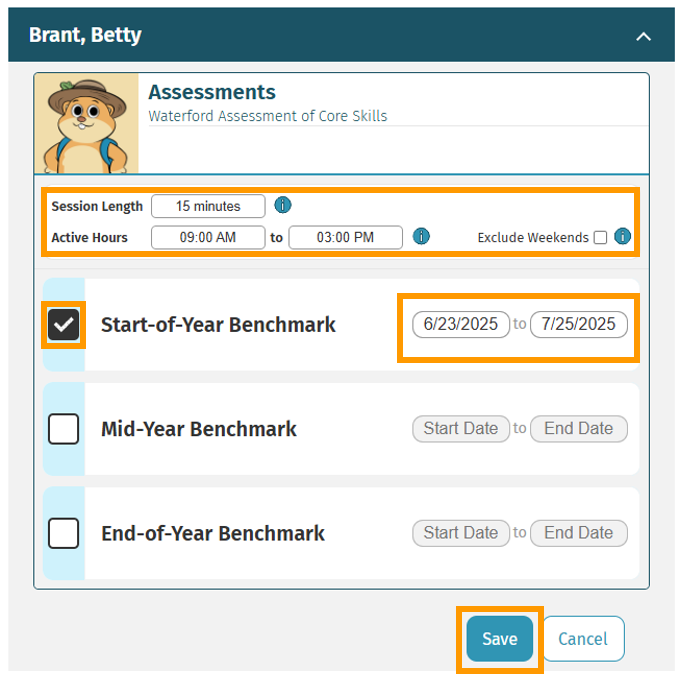
- Check the box next to the benchmark you want to assign.
- Adjust the session length, active hours, and the start and end dates as needed.
- Click Save to confirm your choices. A pop-up window will appear.
- Click OK to finalize your benchmark enrollment.

Make sure to set your benchmark dates within two weeks of the seasonal time frame (Fall, Winter, or Spring) to prevent the benchmark from expiring early.
Here’s a step-by-step walkthrough in video format.
Last Updated: 6/25/25