Waterford Early Learning: Adding, Editing, or Deleting Classes for Administrators
Please note that these instructions only apply to Waterford-rostered accounts. Partners who use a third-party rostering system such as Clever or Classlink should be making changes there.
Adding a New Class
To add a class:
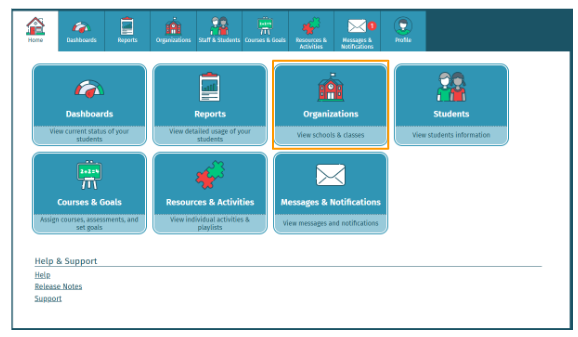
- Log in to your Waterford account and visit the Organizations tab.
- Choose Add New Class.
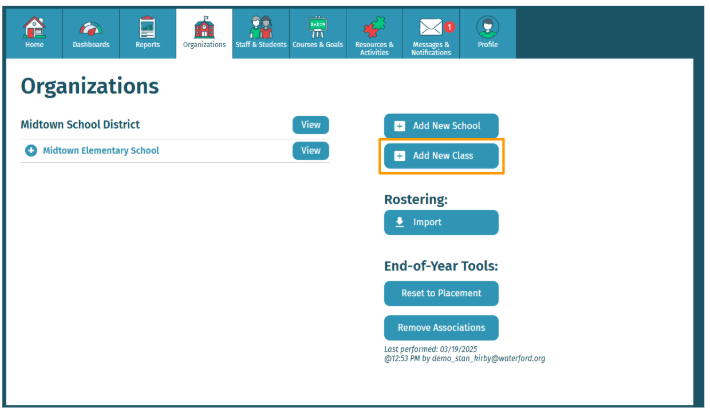
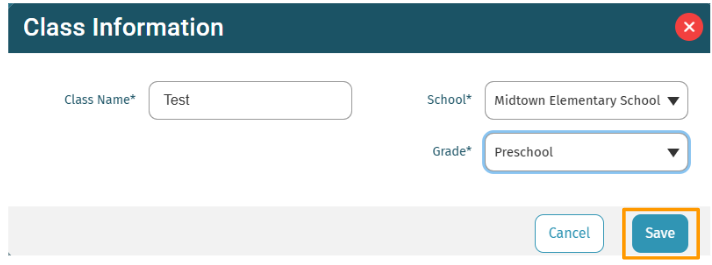
- Fill in the required information for your new class, including which school district it belongs to.
- Select Save to add the new class to your school.
Editing Class Information
To edit information for a class:
- Log in to your Waterford account and visit the Organizations tab.

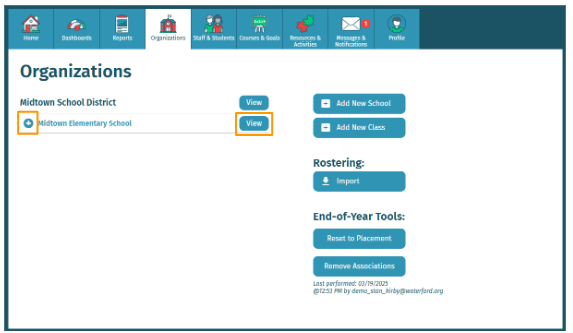
- Select the plus button to the left of the school district that the class belongs to and click View.
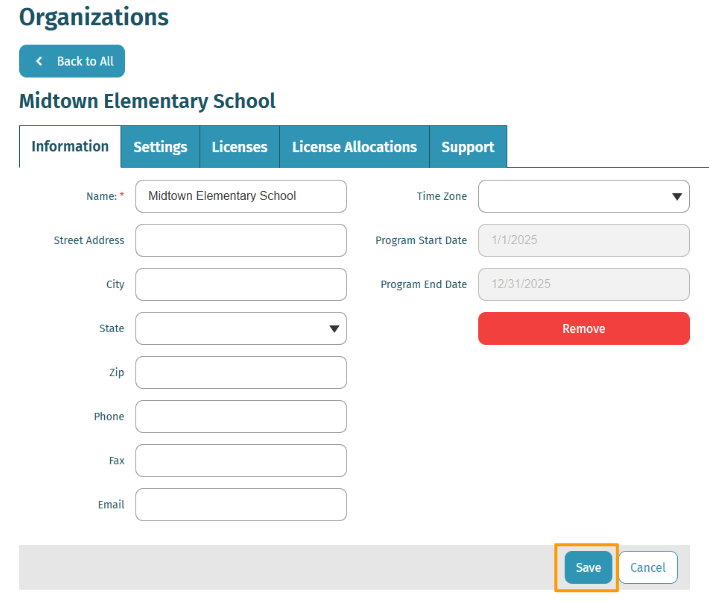
- Edit the class information as needed.
- Select Save to confirm the new information.
Deleting a Class
To delete a class:
- Log in to your Waterford account and click on the Organizations tab.

- Select the plus button to the left of the school district that the class belongs to and click View.

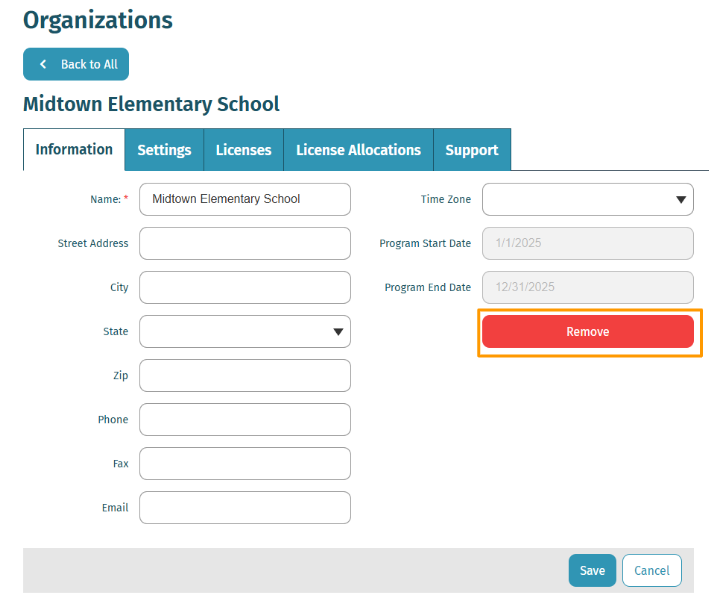
- Choose Remove Class.
- A pop-up will appear asking you to confirm your choices. Select Yes to permanently delete the class.
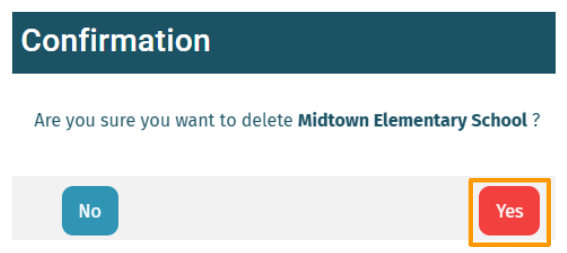
At this time, deleted classes cannot be restored.
Here’s a step-by-step walkthrough in video format.
Last Updated: 06/17/25